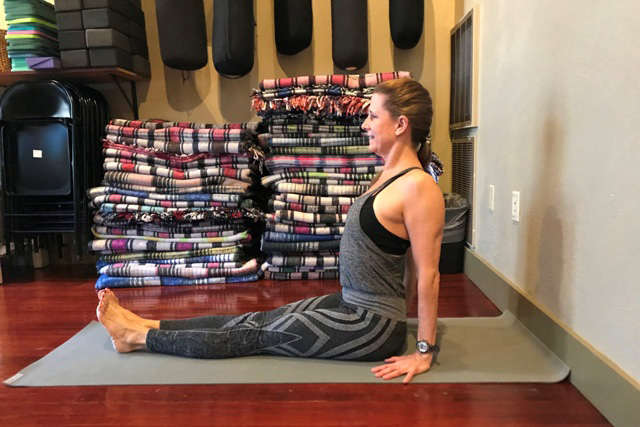

I had never liked working on splits. I knew that somehow, there was something wrong with my posture that I needed to fix before it really made any sense to work on it. For several years I had developed a flat lumbar spine. It felt like my spine was curved the wrong way and that made it impossible to extend one leg backward and one leg forward into a split. I could do symmetrical poses more easily, but asymmetrical poses just felt like something was wrong.
Here is me last year at the end of the MS City to Shore Bike Ride. It felt so good to hop into the Ocean after riding 75 miles, but I really didn’t want a picture of me looking like this. I hated my posture.
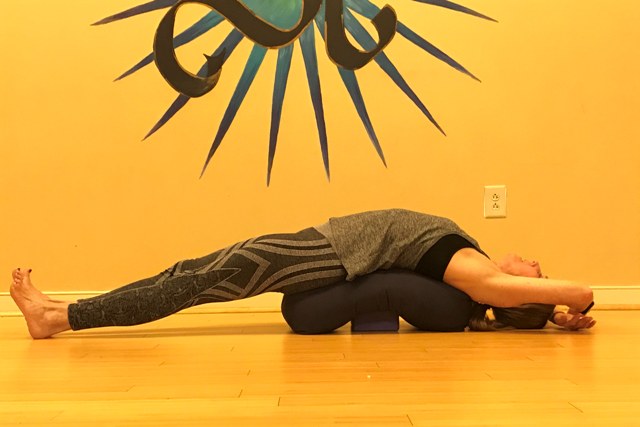
There is this concept of internal rotation of the legs when you are doing almost any yoga posture. It’s not that the legs are actually internally rotated; it’s just that our tendency is to externally rotate them so we internally rotate them to bring them into neutral alignment. It is much harder to maintain this alignment in back bending postures like Cobra, Up Dog, Bridge, Wheel, etc. especially because the back leg is out of sight and out of mind.

Cobra with the legs externally rotated. Notice the “Butt Fist” Too much engagement of the Gluteus Maximus turns the legs out. This creates compression in the sacrum and low back.

Cobra with refined engagement of the Glutes. Notice there is no clenching of the buttocks and the legs are in neutral and they are parallel to each other. This creates a broadening of the sacrum and low back.
I always have appreciated a teacher who would adjust, assist and correct me in my postures. I could tell that I was doing something wrong, but I couldn’t figure out what it was. Through the persistent feedback of my teachers and my dedication to working on it, I was able to change my posture and then the poses began to click.
Once I made it a priority to work on the neutral alignment of my legs, my posture actually changed. I developed a concave low back. This is one of the promises of a dedicated yoga practice. It took a long time and it was sometimes painful. When you change your posture, it is a little like orthodontics; the change happens gradually over a period of years. Not only do you change the way the bones line up but you change the muscles and nerves as well. The nerve stretching was the most challenging as it produced sensations of numbness and tingling. Fortunately, I worked with a very calm and reassuring physical therapist who promised me that this was all good.

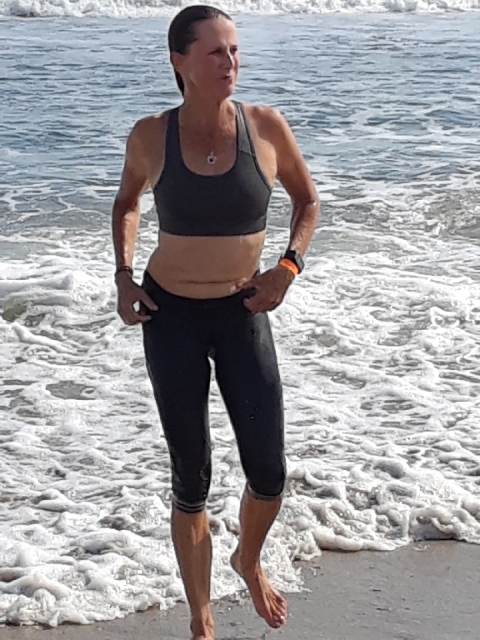
I first started noticing my posture would change after swimming. Here is me before I swam. Notice my flat lumbar area.

This is me right after swimming. Notice my lumbar curve. I was astonished by this and wanted to learn how to maintain this posture. I felt so much better standing this way. But initially, it was painful.
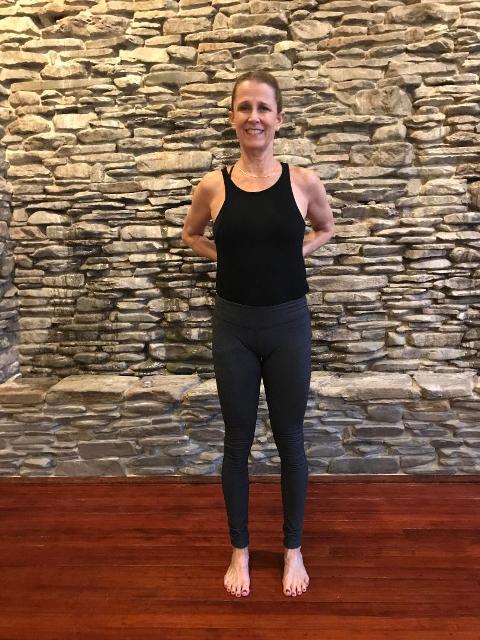
Once my back shifted, my body began to “understand” postures like a split. But, more importantly, it changed my Tadasana, or neutral standing posture. It used to be painful to stand and I was very self conscious of my posture. It also changed poses like Crescent Warrior, Warrior I and Anjaneyasana. These poses are all precursors, or benchmarks to being able to do a split. It’s funny, I was looking for “before” pictures of me in Warrior I and I couldn’t find any. I really didn’t want any pictures taken of me then. But, now I wish I had them for comparison. I never could bend my front leg 90 degrees or straighten my back leg before.